Article: Hardwood Floor Sanding Process Explained
Hardwood Floor Sanding Process Explained
A wood floor can look beyond saving and still come back beautifully with the right approach. Deep scratches, worn finish, gray traffic paths, and uneven sheen often point to one thing - it is time to understand the hardwood floor sanding process and what separates a quick cosmetic fix from a lasting restoration.
For homeowners and property managers, sanding is not just about making floors look newer. It is about removing damage, preparing the wood correctly, and building a finish that can handle everyday life. When done well, sanding can extend the life of a hardwood floor for many years. When done poorly, it can leave waves, swirl marks, bare spots, and premature wear.
What the hardwood floor sanding process actually involves
The hardwood floor sanding process is a step-by-step refinishing method that removes the old finish and a thin layer of wood so the surface can be smoothed, repaired, and sealed again. It sounds straightforward, but each stage affects the final appearance.
A professional crew does more than run a machine across the floor. They inspect the wood species, check thickness, look for loose boards, set nails, identify stains or pet damage, and decide how aggressive the first cut needs to be. That judgment matters because not every floor can handle the same treatment.
Solid hardwood usually allows for more refinishing over its lifespan. Engineered wood can sometimes be sanded too, but it depends on the thickness of the top veneer. If that wear layer is too thin, a full sanding may do more harm than good. This is one of those cases where the right answer really is, it depends.
Before sanding starts
Good results begin before the first pass of the sander. The room needs to be cleared completely, including rugs, furniture, and anything hanging low enough to collect dust. In many homes, shoe molding or quarter round is removed so the crew can reach the edges cleanly.
Then comes the inspection phase. Damaged boards may need replacement before sanding begins. Gaps, protruding fasteners, squeaks, and stained areas are addressed early because sanding alone will not solve every problem. If a floor has wax buildup, adhesive residue, or signs of moisture trouble, those issues need a plan first.
This is also when expectations should be set. Sanding can remove many surface flaws, but not all dark stains come out fully. Very old repairs may remain slightly visible. Sun fading can create color variation after stain is applied. A dependable contractor will tell you that upfront rather than promise a perfectly uniform floor in every situation.
The sanding stages and why grit matters
Most people picture sanding as one pass, but it is really a sequence. The floor is typically sanded with progressively finer grits. The first cut removes the old finish and levels the floor. Later passes refine the surface and erase marks left by the coarser paper.
The initial grit depends on the condition of the floor. Heavily damaged floors may need a more aggressive starting point, while floors with lighter wear can begin with a less coarse grit. Starting too aggressively can remove unnecessary wood. Starting too gently can waste time and still leave finish behind.
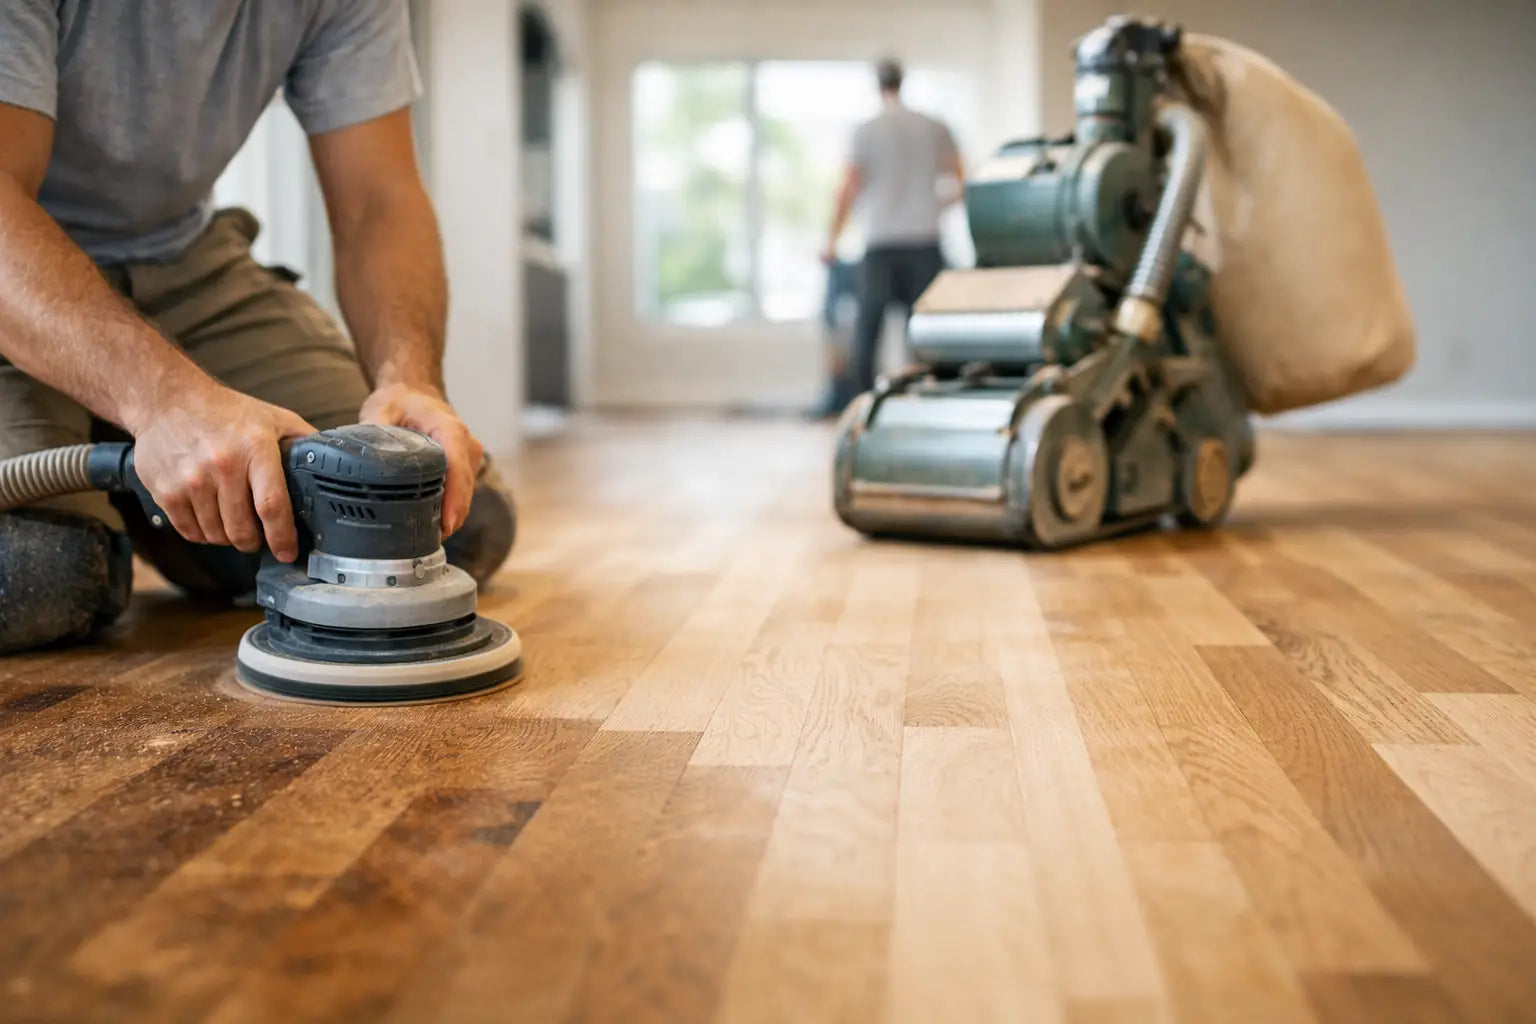
First cut: removing finish and flattening
The first sanding pass does the heavy work. This is often done with a drum sander or belt sander on the main field of the floor. The goal is to strip the old coating and flatten minor unevenness.
This step is where mistakes become expensive. Pausing too long in one spot can gouge the wood. Running the machine at the wrong angle can leave chatter or drum marks. Floors that were previously refinished poorly may need extra correction here, which can add labor and affect timing.
Edge sanding and detail work
Large machines cannot reach tight areas along walls, corners, closets, stairs, or around vents. That is where edge sanders and hand tools come in. This part takes patience because the edges must blend smoothly with the rest of the room.
If the center of the floor looks smooth but the perimeter looks rough or darker, that usually points to weak edge work. On a finished floor, those details stand out more than people expect.
Intermediate and finish sanding
After the heavy cut, the floor is sanded again with finer grits to smooth the surface and remove sanding lines. Some floors also benefit from screening or buffing between stages for a more consistent texture.
By the end of this phase, the wood should feel even and look uniform, without visible machine marks under normal light. That clean surface is what allows stain and finish to go on evenly.
Filling, repairs, and stain decisions
Once sanding is complete or nearly complete, small gaps, nail holes, and minor imperfections may be filled, depending on the floor and the desired look. Some homeowners want a more natural, character-rich appearance, while others prefer a cleaner, more uniform finish.
Not every gap should be filled. In areas with seasonal movement, rigid filler can crack or pop out over time. That is another reason experienced judgment matters. A floor should look better after refinishing, but it also needs to perform well through changing humidity and daily use.
Stain is optional. Natural hardwood remains a popular choice because it highlights the wood grain and avoids some of the variation that darker stains can emphasize. Dark stains can look dramatic and elegant, but they also tend to show dust, pet hair, and scratches more easily. Medium tones often strike the best balance for busy households and commercial spaces.
Applying the finish
The finish is what protects the newly sanded wood. After the floor is vacuumed thoroughly and tack-cleaned, the chosen finish is applied in coats. Water-based and oil-based finishes are the most common, and each has trade-offs.
Water-based finishes dry faster, tend to have lower odor, and keep the wood closer to its natural color. They are often a smart fit when turnaround matters. Oil-based finishes usually deepen the tone and can provide a rich, classic look, but they dry more slowly and often come with stronger odor during application.
How many coats are needed?
Most floors need multiple coats for proper protection. The exact number depends on the product, the sheen selected, and how the space will be used. A busy family room or commercial setting may call for a stronger finish system than a low-traffic bedroom.
Between coats, the floor may be lightly abraded to help adhesion and keep the surface smooth. Rushing this stage is a common problem with low-quality refinishing work. A floor may look fine for a few weeks, then begin wearing unevenly because the finish was not built correctly.
Dry time, cure time, and getting back to normal
One of the most common questions is how long the process takes. The answer depends on the size of the space, the condition of the floor, repairs needed, stain choice, and finish type. In many homes, sanding and refinishing takes several days from preparation through final coat.
Dry time and cure time are not the same. A floor may be dry enough to walk on carefully before it is fully cured. Furniture, rugs, and heavy use often need to wait longer. Skipping those precautions can leave dents, stuck rug backing, or finish impressions that are hard to fix.
For homes with kids, pets, or tight schedules, planning matters. A good refinishing team will give clear guidance on when you can return furniture, when shoes are safe, and how to protect the surface during the first few weeks.
When sanding is worth it and when it may not be
Sanding is often the right move when the floor has worn finish, shallow scratches, dullness, or uneven color. It can also be worthwhile before selling a home or updating a commercial space that needs a cleaner, more polished appearance.
But not every floor needs a full sand. If the finish is lightly scratched but the wood itself is in good shape, a screen-and-coat may be enough. On the other hand, floors with severe water damage, rot, structural movement, or very thin wear layers may need board replacement or new flooring instead.
That is why a free estimate and honest evaluation matter. A trustworthy contractor should recommend the service that makes sense for the floor, not just the biggest job.
Why professional sanding usually pays off
Floor sanders can be rented, but the learning curve is steep. DIY refinishing often runs into uneven sanding, missed edges, stain blotching, and dust control problems. By the time extra materials, equipment rental, and correction costs are added up, the savings can disappear fast.
Professional sanding offers better equipment, better dust containment, and better consistency from room to room. For homeowners who want affordable luxury without the stress, that difference is hard to ignore. Companies like FC Hardwood Floors build the process around clear communication, careful prep, and results that hold up after move-in day, not just on the final walkthrough.
A beautifully refinished floor changes how a room feels under your feet and how your whole space comes together. If your hardwood has good bones, sanding may be the step that brings it back to life the right way.

Leave a comment
This site is protected by hCaptcha and the hCaptcha Privacy Policy and Terms of Service apply.