Article: How to Refinish Worn Wood Floors Right
How to Refinish Worn Wood Floors Right
Scratches that catch the light, dull traffic lanes near the kitchen, and finish worn thin down to bare wood - that is usually when homeowners start asking how to refinish worn wood floors without making an expensive mistake. The good news is that many hardwood floors can be brought back to life. The harder part is knowing whether your floor needs a full refinish, a lighter restoration approach, or complete replacement.
Refinishing is one of the most cost-effective ways to improve the look and value of a home when the wood itself is still in good shape. But it is not a one-size-fits-all project. The right process depends on the floor species, how much wear you are dealing with, whether the boards were previously refinished, and how much disruption you can tolerate in your home.
When refinishing makes sense
A worn finish does not always mean a worn-out floor. If you are seeing surface scratches, fading, minor discoloration, or dullness in high-traffic areas, refinishing is often the right fix. A proper sand and finish can remove old coatings, smooth out shallow damage, and give the floor a fresh protective layer.
There are limits. Deep black stains from pet urine, boards that are cupped or warped from moisture, loose planks, or repeated previous sanding may point to repair work before refinishing, or in some cases replacement. Engineered wood also needs a closer look. Some engineered floors have a thick enough wear layer to be refinished, while others do not.
If you are unsure, this is where a professional evaluation can save time and money. A family-owned flooring company like FC Hardwood Floors typically starts with the same question a homeowner should ask first: is the wood still a good candidate for restoration?
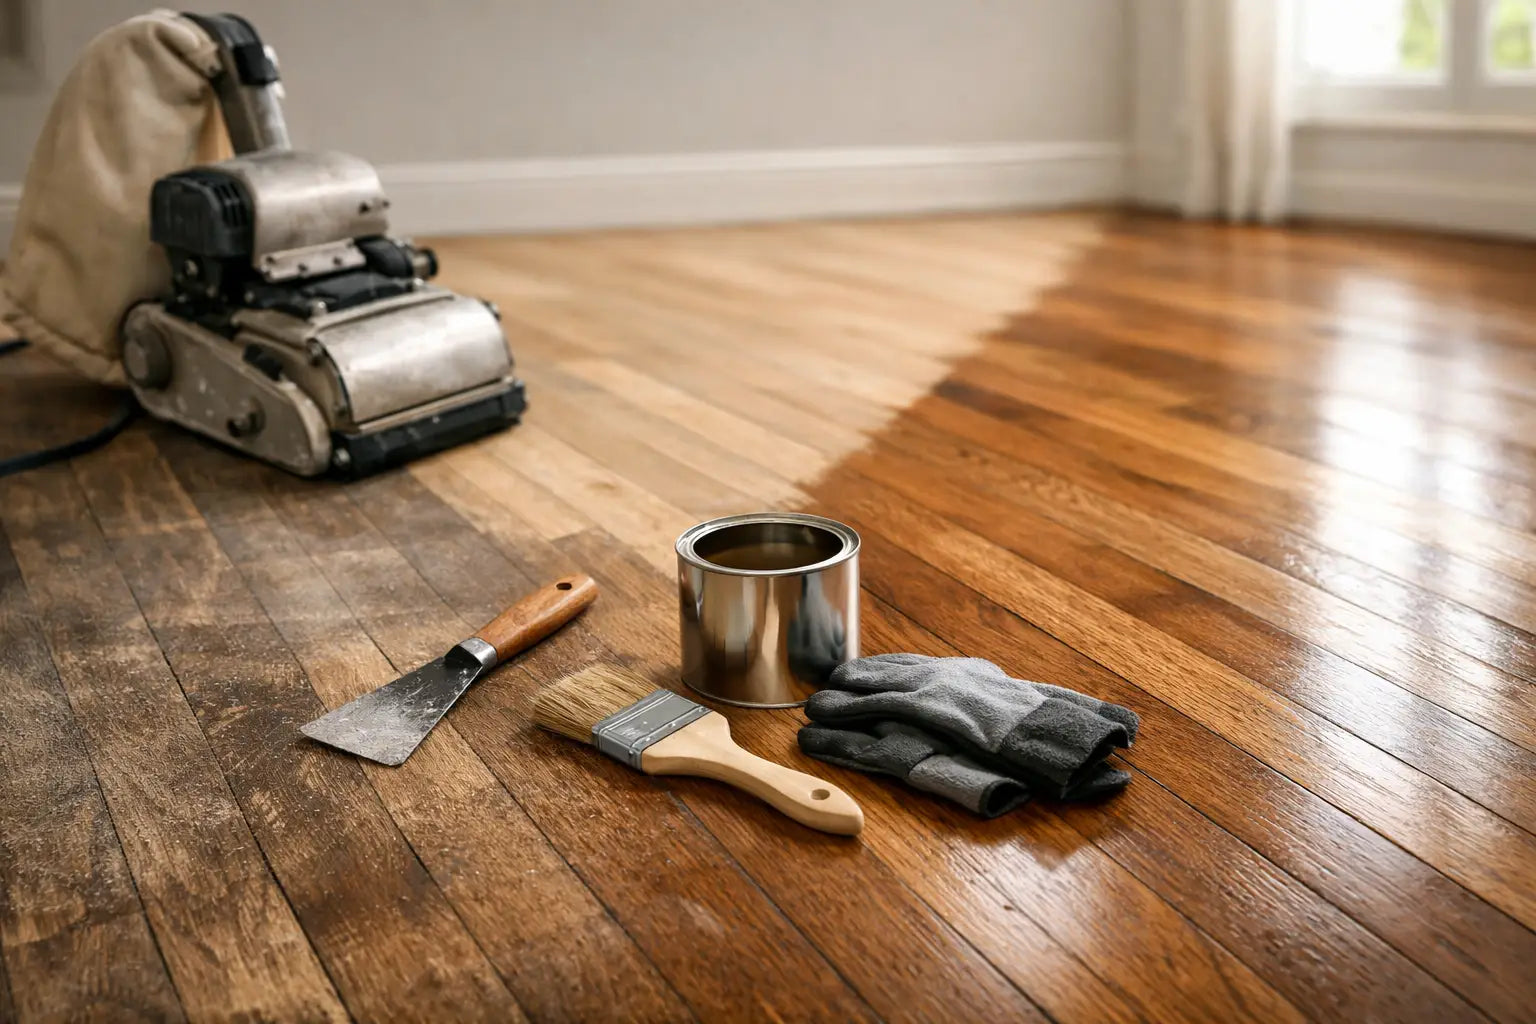
How to refinish worn wood floors step by step
The core process sounds simple: prepare, sand, stain if desired, and seal. In practice, each step affects the final look.
Start with a close inspection
Before any sanding begins, inspect the floor carefully. Look for protruding nails, loose boards, water damage, soft spots, and repairs that may need to happen first. Check thresholds, vents, baseboards, and transitions to other flooring surfaces. If one room has severe wear but the adjoining room does not, you will also need to decide whether to blend the spaces or refinish a larger area for a more consistent result.
This step matters because sanding cannot solve structural issues. It only exposes what is already there.
Clear the room and control dust
Every piece of furniture, rugs, curtains, and floor decor needs to come out. Dust containment also deserves more attention than many homeowners expect. Even with modern sanding equipment, refinishing creates fine dust that can travel into nearby rooms, vents, and cabinets.
Good prep includes sealing off openings, protecting adjacent surfaces, and planning for limited room access while the work is underway. If you are refinishing multiple rooms, think through how your household will move through the house for several days.
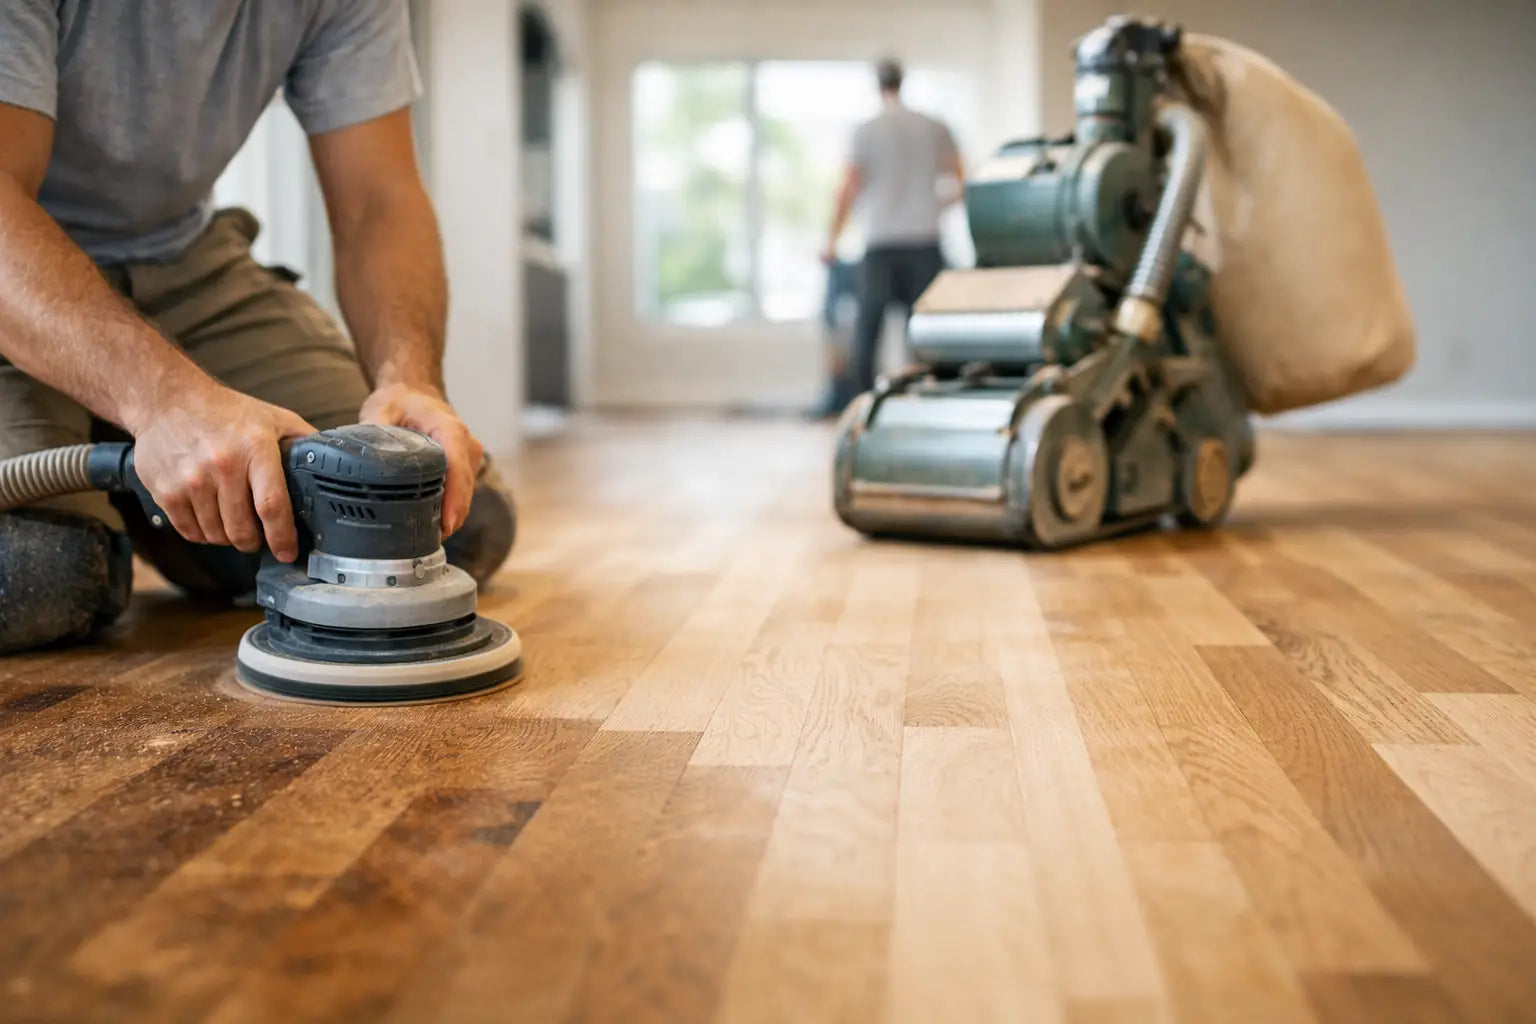
Sand the floor evenly
This is the stage that determines whether the finished floor looks smooth and professional or uneven and patchy. Sanding removes the old finish and levels light surface wear. It typically starts with a coarser grit and moves gradually to finer grits to smooth the surface.
The trade-off is that sanding removes a thin layer of wood. That is why floors can only be refinished so many times, and why aggressive sanding on already thin boards can do more harm than good. Uneven pressure, missed edge work, or skipping grit levels often leaves swirl marks, waves, or visible sanding lines that become even more obvious after stain is applied.
Make repairs before the finish goes on
After sanding, repairs stand out more clearly. Small gaps, minor board damage, and isolated problem areas can often be addressed before finishing. Not every gap should be filled, especially in older floors that naturally expand and contract with the seasons. Overfilling can crack or look unnatural later.
Color matching also matters. A repair that is technically sound but visually off will still draw attention.
Decide whether to stain
Some homeowners love the natural color of the wood once it is freshly sanded. Others want to shift the tone lighter, darker, warmer, or more modern. Stain can absolutely change the look of a room, but it also highlights sanding quality and wood variation.
That is where expectations need to be realistic. Red oak and white oak take stain differently. Maple can look blotchy if not handled correctly. Existing patches may absorb color unevenly. The right stain is not just about what looks good on a sample card. It is about what works with your actual floor, lighting, cabinetry, and lifestyle.
Apply the protective finish
The final protective coat is what gives the floor durability. Most homeowners today choose between oil-based and water-based polyurethane, though there are other professional-grade systems as well.
Oil-based finishes generally add a warmer amber tone and can be very durable, but they have a stronger odor and longer dry time. Water-based finishes dry faster, usually have lower odor, and keep the wood closer to its natural color. They are popular for households that want a cleaner, lighter look and faster return to service.
The best choice depends on the wood species, desired appearance, project timeline, and how much disruption you can tolerate. In busy homes and commercial settings, downtime often becomes just as important as color.
The biggest mistakes people make
Most refinishing problems come down to rushing. Homeowners sometimes underestimate prep, rent sanding equipment without much experience, or assume any finish will work for any floor. The result can be chatter marks, uneven stain, peeling finish, or a floor that looks good for six months and then starts wearing badly.
Moisture is another issue. If the wood has an active moisture problem from below or from indoor humidity swings, refinishing the surface will not solve it. The new finish may fail early, and the boards may continue to move.
Another common mistake is choosing the wrong sheen. A high-gloss finish can look striking, but it also shows dust, footprints, and imperfections more easily. Satin and matte finishes are often more forgiving for family homes, pets, and high-traffic areas.
DIY or hire a professional?
For a small room with straightforward wear, some homeowners do take the DIY route. If you are comfortable using rental equipment, have time for careful prep, and can accept that the learning curve is real, it may be workable.
For larger spaces, custom stain work, older floors, or homes where consistency matters, professional refinishing usually pays off. The equipment is better, dust control is stronger, and an experienced crew can spot problems before they become visible in the final coat. That matters when you are trying to protect the value of a home or get a commercial space back in service quickly.
In the Kansas City area, seasonal humidity changes can also affect wood movement, drying times, and finish performance. Local experience is not just a nice extra. It can influence how the floor performs months after the project is done.
How long the process takes
A typical refinishing project often takes several days, but timing varies based on square footage, repair needs, stain choice, finish type, and curing conditions. Sanding may be done in a day or two, but drying and curing require patience.
That is an important distinction. A floor may be dry enough to walk on carefully before it is fully cured. Moving furniture back too soon or placing rugs down early can damage the finish and leave marks that are hard to correct.
Keeping newly refinished floors looking good
Once the floor is complete, maintenance makes a real difference. Use felt pads on furniture, clean with hardwood-safe products, and keep grit off the surface with regular sweeping or vacuuming. Entry mats help reduce wear, especially near exterior doors.
It also helps to manage indoor humidity. Wood naturally expands and contracts, and stable conditions are easier on both the boards and the finish. If you have pets, trim nails regularly. If you have rolling office chairs, use proper floor protection.
A well-refinished floor should not need another full sanding anytime soon. In many homes, the better approach later is a maintenance coat before wear reaches bare wood again.
Knowing when to stop guessing
If you are standing in a room trying to decide whether the floor is worth saving, that is usually the point where expert input helps most. Some worn floors need a straightforward refinish. Others need repairs, a different finish strategy, or a conversation about replacement materials that better fit the space.
The right answer is not always the biggest project. It is the one that gives you a durable, attractive floor without overspending or creating avoidable problems later. A floor should look better when the work is done, but it should also fit the way you actually live in the home every day.
Leave a comment
This site is protected by hCaptcha and the hCaptcha Privacy Policy and Terms of Service apply.