

Hardwood Installation Planning Guide for Your Home
A new hardwood floor can change the feeling of a room before a single piece of furniture comes back in. It can also expose every rushed decision, from choosing boards that do not suit your lifestyle to scheduling installation before a remodel is truly finished. This hardwood installation planning guide helps homeowners and property managers make confident decisions before work begins, so the finished floor looks beautiful and performs as it should.
Start With How the Space Actually Works
The right hardwood is not simply the color that looks best in a sample. It needs to match the way the room is used, the condition of the subfloor, and the expectations you have for maintenance over time.
A busy household with children, pets, and frequent guests may benefit from a harder species, a matte finish, or a finish that helps disguise small scratches. A formal dining room or low-traffic bedroom gives you more freedom to prioritize grain pattern, plank width, and a lighter or darker stain. If you are planning flooring for a rental, office, or retail setting, durability and a practical refinishing plan may matter more than selecting a highly customized look.
Solid hardwood offers classic beauty and can often be refinished more than once, but it is sensitive to moisture and environmental changes. Engineered hardwood has a real wood surface over a layered core, making it a strong option for many main-level spaces and some areas where solid wood may be less suitable. Neither is automatically better. The best choice depends on the room, installation method, and your long-term goals.
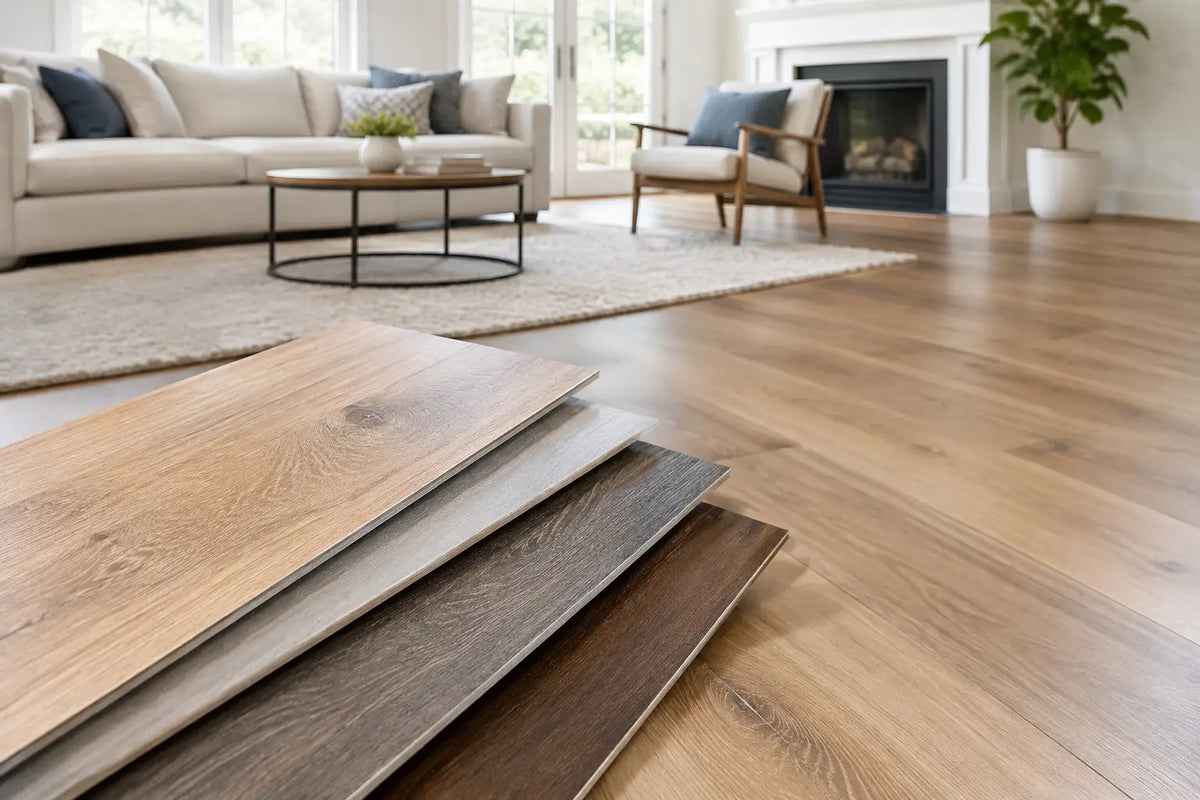
Bring home samples whenever possible. View them in morning sun, afternoon shade, and evening lighting. Hold them next to cabinets, paint, upholstery, and trim. A floor covers far more visual space than a small sample, so a color that seems subtle in your hand may look much warmer, cooler, or darker across an entire room.
A Hardwood Installation Planning Guide Begins Below the Surface
Beautiful boards cannot correct an unstable subfloor. Before selecting a product or setting an installation date, the existing floor needs a professional assessment for flatness, moisture, structural soundness, and height transitions.
Concrete slabs require moisture testing, especially in homes with basements, additions, or rooms built on a slab. Wood subfloors should be checked for squeaks, loose panels, damaged areas, and uneven sections. A floor may need repairs, leveling, or moisture protection before hardwood can be installed properly. That preparation is not an optional extra. It is the foundation for preventing gaps, movement, cupping, and premature wear.
This is also the right time to discuss floor height. New hardwood can affect door clearance, baseboards, appliance openings, stair transitions, and the connection to tile, carpet, or vinyl in adjacent rooms. Planning those details early avoids last-minute trimming and awkward transitions.
Consider Kansas City's Seasonal Humidity
Homes in the Greater Kansas City area experience meaningful shifts in humidity through the year. Wood naturally responds to moisture in the air, expanding when conditions are humid and contracting when they are dry. Proper acclimation and moisture testing help account for those changes.
Acclimation is not just leaving unopened boxes in a room for a fixed number of days. The home should be operating under normal living conditions, and the material should be evaluated according to the manufacturer's requirements and site readings. Your installer can determine the right process for the flooring product and the conditions inside your home.
Build a Realistic Project Schedule
Hardwood flooring is usually one part of a larger project. Timing it well protects the floor from avoidable damage and helps the installation move efficiently.
For most remodels, hardwood installation should happen after major demolition, drywall work, painting, plumbing, electrical work, and cabinet installation are complete. Wet trades and dusty work can create moisture or debris problems, while moving heavy materials across a newly installed floor invites damage. Final touch-up paint and trim work can happen afterward, but everyone involved should know how the floor will be protected.
If existing flooring must be removed, allow time for that work and for any surprises underneath. Old adhesive, damaged subflooring, extra layers of flooring, or hidden moisture issues can change the scope of the project. A dependable estimate should explain what is included and identify items that may require additional work if discovered after removal.
Unfinished hardwood has a different schedule than prefinished hardwood. Site-finished floors offer more flexibility with stain color and can create a continuous look across the room, but they require sanding, finishing, drying time, and ventilation planning. Prefinished flooring can shorten the installation process and reduce finishing work in the home, although the available colors and edge details are set by the manufacturer.
Avoid scheduling movers, cleaners, or furniture delivery for the same day work is expected to finish. Give the installation team room to complete final details, and follow their guidance on when the floor can accept foot traffic, rugs, and furniture.
Plan the Budget Beyond the Price of the Boards
Material cost is only one part of a hardwood floor investment. A clear project budget accounts for installation, removal and disposal of existing flooring, subfloor repairs, moisture barriers, transitions, stair parts, trim, delivery, and furniture moving when needed.
It is also wise to plan for waste material. Installers order additional flooring to account for cuts, board selection, layout, and future repairs. The amount can vary with the room shape, plank pattern, and direction of installation. A rectangular room generally creates less waste than a space with many closets, angled walls, islands, or built-ins.
Do not make a decision on price alone. A lower initial quote may not include the preparation or finishing details your floor needs. At the same time, the most expensive wood species or widest plank is not always the best value for your home. Affordable luxury comes from selecting a floor that fits the space, receiving skilled installation, and avoiding preventable repairs later.
Ask What the Estimate Covers
Before approving a proposal, make sure you understand the product, square footage, installation method, preparation work, trim details, and expected timeline. Ask how unforeseen subfloor conditions are handled and whether furniture, appliances, or old flooring are included in the scope.
You should also discuss floor direction. Running boards parallel to the longest wall can make many rooms feel more open, but sightlines, joist direction, existing flooring, and adjoining spaces may point to a different layout. A professional recommendation should balance appearance with proper installation requirements.
Prepare the Home Before Installation Day
A little preparation makes the project safer, faster, and less stressful. Remove fragile items, small furniture, wall décor near the work area, and belongings from closets if those spaces are included. Confirm who will move larger furniture and whether appliances need to be disconnected or relocated.
Create a clear path from the entry point to the work area. Installation involves materials, tools, and repeated movement through the home. Keep children and pets away from active work zones, and plan around noise, dust, and limited access to certain rooms. If you work from home, reserve a separate, quiet space for calls.
Humidity control matters after installation, too. Keep indoor conditions reasonably consistent, particularly during periods of extreme heat, cold, or dryness. Use felt pads beneath furniture legs, lift rather than drag heavy pieces, and place mats at exterior doors to reduce grit. Follow the care instructions for your floor's finish instead of using steam cleaners or overly wet mops.
Choose an Installer Who Plans With You
The installation team should be involved before the first board is delivered. An experienced flooring professional can identify subfloor concerns, explain material trade-offs, help compare samples, and set expectations for schedule and care. That guidance is especially valuable when a project involves stairs, transitions, restoration work, or several types of flooring.
At FC Hardwood Floors, the goal is to make the selection and installation process straightforward, with hands-on guidance from the estimate through the final walkthrough. Homeowners should feel comfortable asking questions, reviewing samples, and understanding exactly what their project requires.
A hardwood floor is built to be lived on, not worried over. Give the planning stage the attention it deserves, and you can enjoy the warmth, character, and lasting value of a floor chosen for your home rather than simply for the moment.


Leave a comment
This site is protected by hCaptcha and the hCaptcha Privacy Policy and Terms of Service apply.