
Hardwood Moisture Testing Guide for Lasting Floors
A beautiful hardwood floor can be installed with excellent materials and careful craftsmanship, then develop gaps, cupping, or raised boards weeks later. The cause is often moisture that was present before the first board went down. This hardwood moisture testing guide explains what should be measured, why the numbers matter, and how proper preparation protects your investment.
Why Moisture Testing Comes Before Installation
Wood is hygroscopic, meaning it absorbs and releases moisture as conditions around it change. When hardwood takes on moisture, it expands. When it dries, it contracts. A small amount of seasonal movement is normal, but major changes can affect the floor's appearance, performance, and lifespan.
That is why moisture testing is not an optional extra. It is part of responsible floor preparation. The flooring itself, the subfloor, and the indoor environment all need to be evaluated before installation begins. Skipping this step can lead to problems that are expensive and disruptive to correct after furniture is moved back in.
In Greater Kansas City, the change between humid summers and dry winter heating makes preparation especially important. A floor should be installed for the conditions it will live in, not simply for the weather outside on installation day.
The Three Moisture Readings That Matter
A dependable moisture plan looks at the whole system, not just the wood flooring in its boxes. An experienced installer checks the hardwood, the subfloor, and the jobsite environment.
Hardwood flooring moisture content
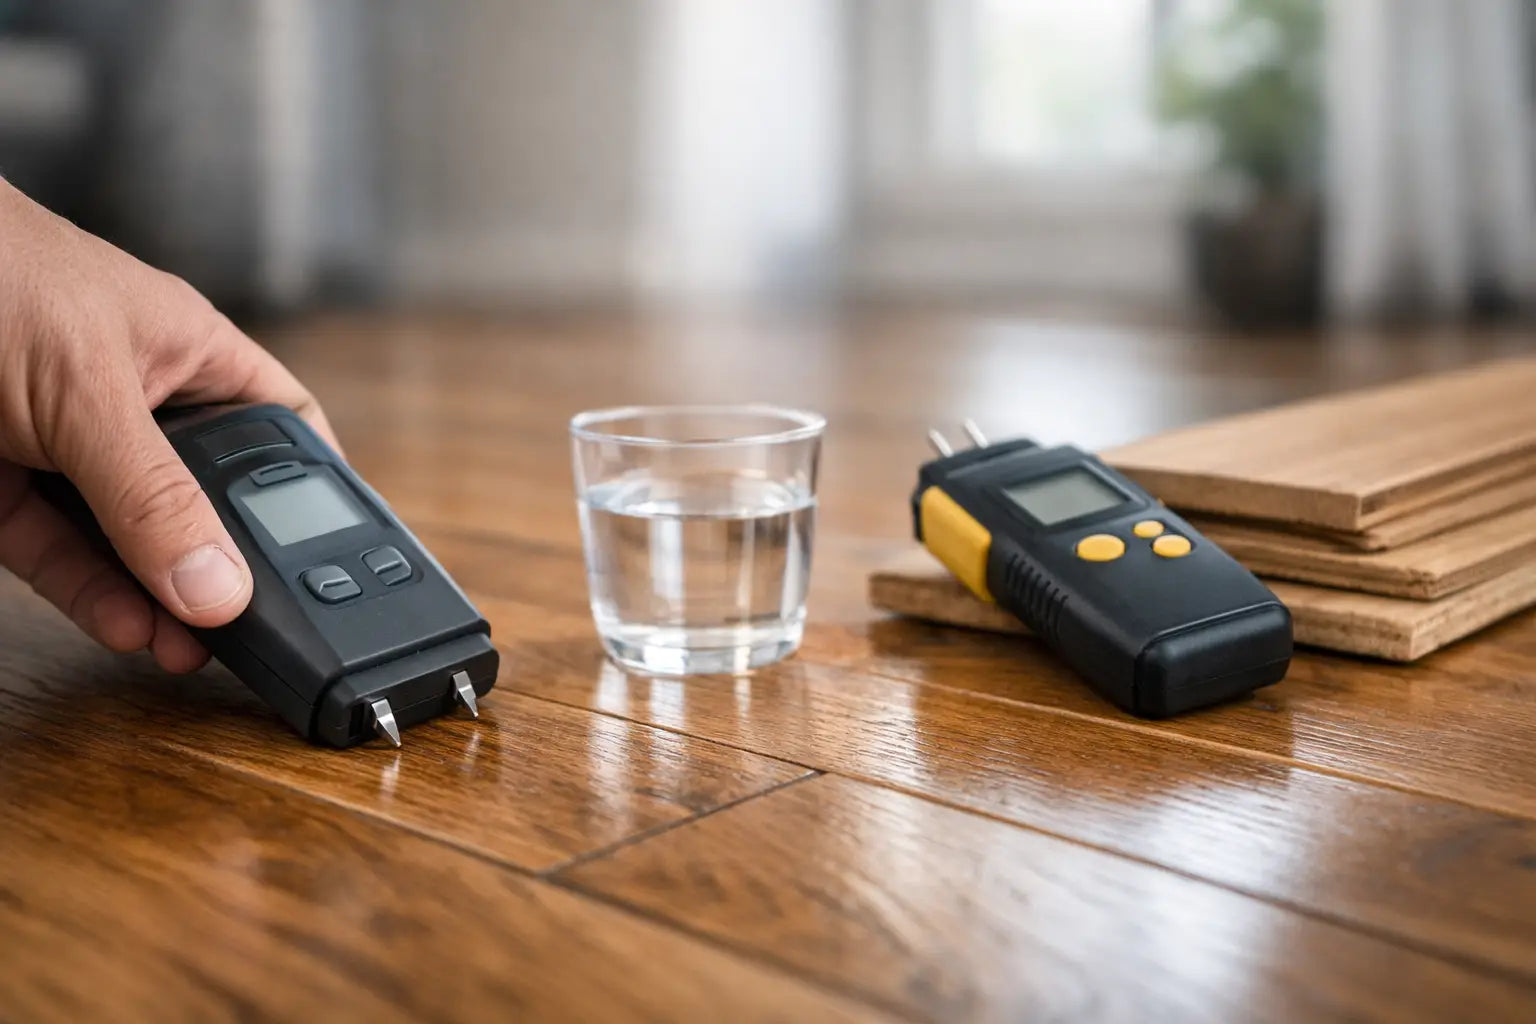
Moisture content, often shortened to MC, is the percentage of water in the wood. A wood moisture meter provides this reading. For solid hardwood, the flooring should be close to the moisture content the wood will maintain after it is installed in the home.
There is no single perfect number for every species, house, or season. What matters is that the flooring has acclimated appropriately and that its moisture content is within the manufacturer's requirements. For many solid wood installations, installers also compare the flooring reading with the wood subfloor reading. A difference that is too large increases the risk of movement after installation.
Species matters here. Dense woods can respond differently than softer species, and wider planks can make moisture-related movement more noticeable. Engineered hardwood is generally more dimensionally stable than solid hardwood, but it still requires testing and must meet the product manufacturer's installation standards.
Wood subfloor moisture content
Plywood and OSB subfloors can hold moisture from new construction, a recent leak, a wet crawl space, or ordinary seasonal humidity. A subfloor may look dry on the surface while holding excess moisture below.
Readings should be taken across the room rather than in one convenient spot. Exterior walls, plumbing areas, doorways, and spots near concrete transitions deserve special attention. If readings vary widely, that is a reason to investigate before covering the subfloor with hardwood.
For solid hardwood over a wood subfloor, installers commonly look for a close relationship between the flooring and subfloor moisture readings. The acceptable difference depends on the flooring width, species, product instructions, and installation method. The manufacturer's specifications should always guide the final decision.
Concrete slab moisture and humidity
Concrete is not dry just because it feels dry. Slabs can release water vapor long after they have cured, especially in basements, additions, and newer construction. That vapor can affect adhesives, underlayment, and engineered hardwood installed above it.
Concrete moisture testing is more involved than checking wood with a handheld meter. Depending on the flooring system, an installer may use in-situ relative humidity testing, calcium chloride testing, or another method required by the adhesive and flooring manufacturer. Results must fall within the limits for the specific products being used.
This is one place where shortcuts create real risk. A moisture barrier or mitigation system may be appropriate, but it must be compatible with the slab condition, adhesive, and flooring product. A barrier is not a substitute for identifying an active water problem.
How Hardwood Moisture Testing Is Done
Professional testing starts after the building is enclosed and operating under normal living conditions. Windows and exterior doors should be in place, HVAC should be running, and wet trades such as drywall, paint, masonry, and cabinetry work should be substantially complete. Those projects can release significant moisture into the air.
For wood, installers commonly use pin or pinless moisture meters. Pin meters measure electrical resistance between probes inserted into the wood. Pinless meters scan the surface and are useful for taking many readings quickly. Each tool has strengths, and the meter must be set correctly for the wood species and material being tested.
The installer should test multiple boards from different cartons, rather than relying on a single piece at the top of a stack. Flooring may have been stored in different conditions before delivery. A useful record includes the date, room, wood species, flooring moisture content, subfloor readings, and indoor temperature and relative humidity.
That documentation is valuable for everyone involved. It gives homeowners a clear picture of site conditions, helps installers make sound decisions, and creates a baseline if questions arise later. It also supports manufacturer warranty requirements when applicable.
Acclimation Is More Than Leaving Boxes in a Room
Homeowners often hear that hardwood needs time to acclimate. That is true, but simply placing unopened boxes in a room for a certain number of days is not a complete moisture strategy.
Acclimation means allowing the flooring to reach an appropriate moisture balance with the occupied space. The required process varies by product. Some solid hardwood floors need site acclimation, while some engineered products may have different instructions. The manufacturer may specify how flooring should be delivered, stacked, opened, and conditioned before installation.
The home must also be stable during that time. If the heat or air conditioning is off, if windows are open during humid weather, or if fresh drywall is still drying, the reading may not represent normal conditions. Installing at the wrong point in the process can create a floor that reacts sharply once the home is occupied.
What Happens When Moisture Is Too High or Too Low
High moisture in flooring or a subfloor can cause boards to expand after installation. The most familiar result is cupping, where the edges of each board rise higher than the center. Severe expansion can also create buckling, where flooring lifts away from the subfloor.
Low moisture can cause the opposite issue: shrinkage. Gaps may appear between boards, and boards can develop checking or surface cracks. Dry winter air may create minor seasonal gaps in many wood floors, but excessive dryness can make those changes much more pronounced.
Not every floor problem is caused by moisture, and not every moisture problem comes from the subfloor. Leaks from appliances, plumbing failures, pet accidents, poor crawl-space conditions, and high indoor humidity can all affect wood after installation. Proper testing reduces installation-related risk, but continued care protects the floor long term.
When a Reading Signals a Pause, Not a Problem
A high reading does not automatically mean the project has failed or that hardwood is off the table. It means the cause needs to be understood before work continues. Sometimes the right solution is giving the slab, subfloor, or flooring more time to dry under controlled indoor conditions. In other cases, a crawl-space repair, plumbing fix, vapor-control solution, or a different flooring product may make more sense.
This is where experienced guidance matters. The best recommendation is not always the fastest installation date. It is the approach that gives the finished floor the best chance to look and perform the way it should.
For restoration projects, moisture testing matters just as much. Sanding and refinishing a floor with an active moisture issue can hide the symptoms temporarily without solving the cause. Before restoring cupped boards, dark stains, or recurring finish damage, the underlying moisture source should be checked first.
Keeping Hardwood Stable After Installation
Once the floor is installed, aim for consistent indoor temperature and relative humidity throughout the year. Many homes do well within a moderate relative humidity range, often around 35% to 55%, though the flooring manufacturer may provide more specific guidance. A humidifier during dry heating months or dehumidification during humid periods can help reduce extreme swings.
Clean spills promptly, use mats near exterior doors, and address leaks without delay. Avoid wet mopping hardwood floors. Use cleaning products and methods approved for the finish, because excess water from routine cleaning can work into joints and edges over time.
At FC Hardwood Floors, we believe a premium result starts well before installation day. Careful moisture testing, clear expectations, and the right product for the space help turn an affordable flooring upgrade into a floor your family or customers can enjoy for years. If a moisture reading calls for a pause, taking that pause is often the smartest step toward making your house a home.


Leave a comment
This site is protected by hCaptcha and the hCaptcha Privacy Policy and Terms of Service apply.