
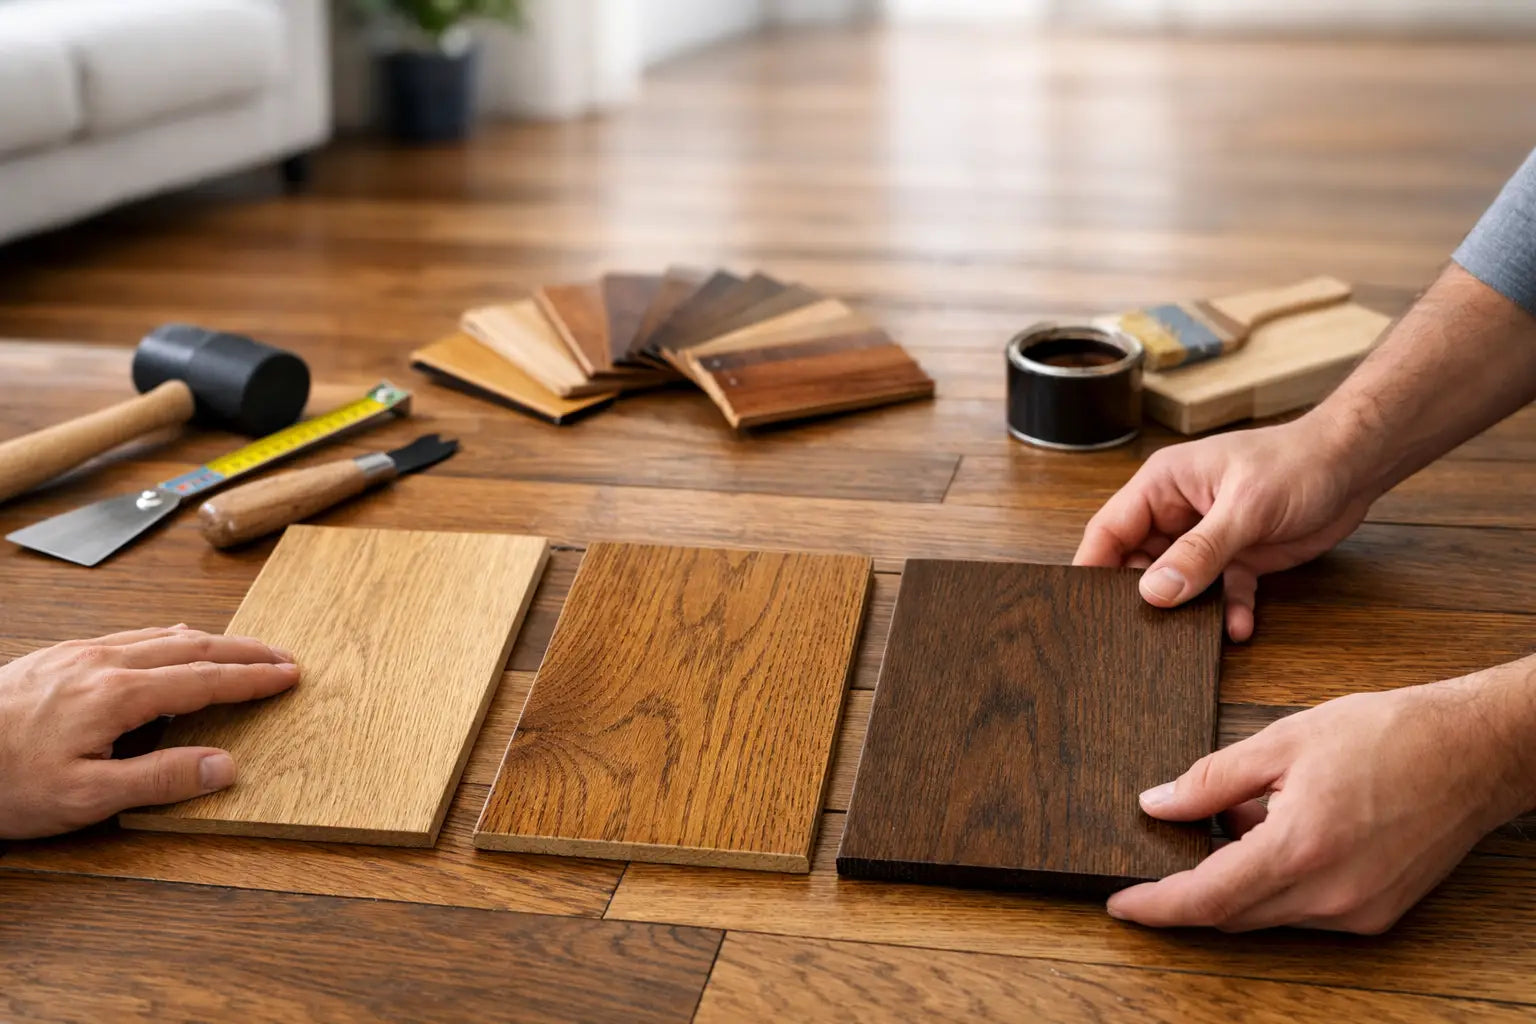
How to Match Existing Hardwood Floors
A hardwood patch that looks perfect in the store can look completely off once it meets your original floor. The boards may be the same color family, but the grain is busier, the sheen is flatter, or the plank width gives the transition away. If you are wondering how to match existing hardwood, the real job is not finding a close-enough product. It is understanding what your current floor actually is, how it has aged, and what can realistically be blended.
Why matching hardwood is harder than it looks
Most homeowners start with color, but color is only one part of the match. Species, cut, board width, texture, stain, finish, and age all affect the final result. Red oak and white oak can both be stained brown, for example, yet they absorb stain differently and show grain in different ways. Two floors can look similar from across the room and still feel mismatched when the light hits them.
Time is another factor. Existing hardwood has lived through sunlight, foot traffic, cleaning products, and seasonal humidity changes. Even if you install the exact same species and stain today, the new section may still look fresher, cleaner, or slightly richer than the surrounding floor. That does not always mean the match failed. It means the floor has a history.
Start by identifying the floor you already have
Before choosing a new product, figure out as much as you can about the original floor. If your home records include past flooring invoices, that helps. If not, a flooring professional can usually narrow it down by looking at the grain pattern, board dimensions, and finish.
Species matters more than most people expect
Oak is common, but there are important differences within oak alone. Red oak has a warmer undertone and a more open grain. White oak tends to look a bit more neutral or olive and can take stain in a more understated way. Maple is smoother and less porous, which changes how stain shows up. Hickory has stronger color variation. Pine behaves differently again.
If the species is wrong, the floor may never look fully consistent, even if the stain looks close on day one.
Width, thickness, and cut need to line up
A 2 1/4-inch strip floor next to a 3 1/4-inch board is easy to spot. The same goes for a traditional solid hardwood installed next to an engineered product with a different bevel or edge profile. Quarter-sawn boards also reflect light differently than plain-sawn boards, so the cut can change the look even when the species is technically the same.
Thickness matters for installation and transitions. If the height is off, you may need reducers or other trim pieces, which can make the repair or addition look more obvious.
How to match existing hardwood color
Color matching is where most people focus, but it works best after the floor itself is correctly identified. When you move too quickly to stain charts, you can end up matching the wrong material.
Look at undertones, not just light or dark
Many brown floors are not simply brown. They may read red, golden, gray, or neutral depending on the wood and finish. A new board that is the same depth of color but has a different undertone can stand out immediately.
Natural light changes the read, too. A board that seems perfect under showroom lighting may shift once it is in a hallway or open living area. That is why samples should always be reviewed in the actual space.
Old floors usually need sanding for the best match
If you are tying new hardwood into an existing area, sanding and refinishing the whole connected floor often gives the cleanest result. This allows the old and new boards to be stained and sealed together, which reduces visible variation.
Spot matching without refinishing can work for smaller repairs, but it is more difficult. The finish on the existing floor may have ambered over time, and wear patterns may make the same stain look different from one board to the next.
When a perfect match is realistic and when it is not
Some projects allow for a near-invisible blend. Others call for a match that feels intentional rather than exact.
If your floor is a common species in a standard width and the surrounding area can be refinished together, your odds are good. If the floor is older, custom-stained, hand-scraped, discontinued, or heavily sun-faded, there may be limits. That does not mean the result will look bad. It means the goal should be a cohesive floor, not a laboratory-level duplicate.
This is especially true in older homes. Wood changes over time, and older boards may have dimensions or grain characteristics that are hard to source today. In those cases, an experienced installer may weave in new boards, lace them into the existing pattern, and then refinish the entire area to make the transition feel natural.
Best approaches for additions, repairs, and remodels
The right solution depends on why you are trying to match the floor in the first place.
For small repairs
If only a few boards are damaged, board replacement may be enough. The challenge is making those new boards blend into the surrounding field. Sometimes stain adjustments and finish selection can get you close. Sometimes the repair is visible at first but softens over time as the new wood ages.
For room additions
Matching across an addition usually calls for more planning. You want the new section to continue the rhythm of the existing floor, not look like a separate product was attached later. That means aligning board direction, width, species, and finish. If the old and new spaces connect directly, refinishing both together is often worth it.
For partial remodels
Kitchen remodels, wall removals, and cabinet layout changes often leave patched areas in the middle of the floor. These are some of the trickiest jobs because the repair sits in a high-visibility zone. In many cases, lacing new wood into the old floor creates a better result than making one straight seam.
How professionals get a closer match
A good match usually comes from process, not luck. That process includes identifying the wood correctly, checking moisture conditions, selecting samples, and creating stain tests on site.
Professionals also pay attention to finish sheen. Many mismatches blamed on color are really sheen issues. Satin, semi-gloss, and matte reflect light differently, which can make two similar colors appear far apart. Texture matters, too. A smooth floor beside a wire-brushed or hand-scraped floor will always announce itself.
In some homes around Olathe and Overland Park, we see another common issue: homeowners bring in a sample board from a hidden closet and try to match that to a sun-exposed main floor. The closet sample shows the original color. The living room shows years of aging. Both are correct in their own way, but they are not the same reference point.
Common mistakes that make a match look off
One mistake is buying based on photos alone. Phone images shift color, and online product shots are not reliable enough for an exact flooring decision.
Another is skipping samples. A sample lets you compare the new wood against the existing floor at different times of day. That is often when undertone issues become obvious.
The biggest mistake, though, is chasing a perfect board-for-board match when the project really needs a full refinishing strategy. If the old floor has yellowed, faded, or worn unevenly, replacing a section without addressing the surrounding area can make the difference more noticeable, not less.
What to expect during the matching process
The first step is usually evaluation. A flooring specialist looks at species, dimensions, condition, and how the old and new areas meet. From there, the plan may include sourcing unfinished wood, testing stains, and deciding whether the whole area should be sanded and coated together.
This is also where budget and expectations should be discussed honestly. A close match may cost more upfront if it requires custom staining or refinishing a larger footprint, but it often looks better and protects the value of the home. On the other hand, if the flooring is in a lower-visibility space, a practical close match may be the smarter choice.
If you are trying to figure out how to match existing hardwood, the best results usually come from seeing the floor in person and building the plan around what is actually there, not what the original product label might have said years ago. Wood is natural, which is exactly why it looks so good in a home. It is also why matching it takes experience, patience, and a little flexibility.
A well-matched hardwood floor does not have to fool every expert under a spotlight. It just has to feel right when you walk through the room, and that is the standard worth aiming for.

Leave a comment
This site is protected by hCaptcha and the hCaptcha Privacy Policy and Terms of Service apply.