Article: How to Restore Water Damaged Hardwood Floors
How to Restore Water Damaged Hardwood Floors
A leaking dishwasher, wet boots by the entry, or a burst supply line can change a hardwood floor overnight. To restore water damaged hardwood floors successfully, the first priority is not sanding or refinishing. It is stopping the moisture, drying the floor correctly, and determining whether the wood can return to a stable condition.
Hardwood is a long-lasting material, but it reacts to water. Boards absorb moisture, expand, and may cup, crown, stain, separate, or pull loose from the subfloor. A fast response can save a floor that looks alarming at first. Waiting too long can turn a manageable restoration into a replacement project.
Start by identifying the source and the extent
Before anyone addresses the floor finish, the water source must be fully resolved. Shut off the supply line, repair the appliance, address the roof leak, or correct the drainage issue that caused the problem. Drying a floor while moisture continues to enter the home wastes valuable time.
Next, look beyond the visible wet area. Water can travel beneath baseboards, into adjacent rooms, under cabinets, and through floor vents. A small stain near a refrigerator may be the visible edge of a larger issue below the surface. In Kansas City-area homes, water events can also affect a basement ceiling or finished space directly below the damaged floor.
Take clear photos before moving furniture or removing trim. If an insurance claim may be involved, documentation helps establish the cause, the affected areas, and the work completed. Then remove rugs, furniture, pet beds, and other items that trap moisture against the wood.
Know what the floor is telling you
The pattern of damage often offers useful clues, although a professional moisture reading is the best way to confirm what is happening beneath the surface.
Cupping occurs when board edges rise higher than the center. It usually means the underside of the boards is holding more moisture than the top. Cupping can improve as the wood dries gradually.
Crowning is the opposite: the center of each board is higher than its edges. This may happen when a cupped floor is sanded before it has dried, or when moisture is concentrated on the top surface.
Buckling is more serious. Boards may lift from the subfloor, form ridges, or separate dramatically from nearby boards. This can indicate substantial moisture below the floor, failed adhesive, or a floor that has expanded without enough room at the perimeter.
Dark gray or black staining may signal a reaction between moisture and minerals in the wood, mold-related growth in hidden areas, or water that sat too long. Surface discoloration can sometimes be sanded out, but deep stains may remain even after refinishing.
Dry the floor slowly and thoroughly
The instinct after a water event is to apply as much heat as possible. That can make matters worse. Aggressive heat may dry the top of a board far faster than the underside, increasing stress in the wood and contributing to cracking, splitting, or crowning.
A better approach is controlled drying. Remove standing water promptly with appropriate extraction equipment, increase air circulation, and use dehumidification to reduce indoor humidity. Keep the space at a normal, steady temperature rather than overheating it. If safe to do so, remove shoe molding or baseboards at the edges of the affected area so trapped moisture has a path to escape.
For a minor spill caught quickly, household fans and a dehumidifier may be enough. For flooding, a plumbing failure, or moisture that has reached the subfloor, professional drying equipment and moisture testing are usually the smarter investment. A moisture meter compares affected boards with dry wood elsewhere in the home and helps prevent cosmetic repairs from being done too soon.
Drying can take days or weeks depending on the species, floor construction, weather, amount of water, and whether insulation or a subfloor is wet. A floor can feel dry underfoot while still carrying too much moisture for sanding or coating.
Do not sand too early
Sanding a water-damaged hardwood floor before its moisture content stabilizes is one of the costliest mistakes homeowners can make. If cupped boards are sanded flat while the underside is still wet, the boards may later dry and reverse shape. The result is often crowned boards that require additional correction or replacement.
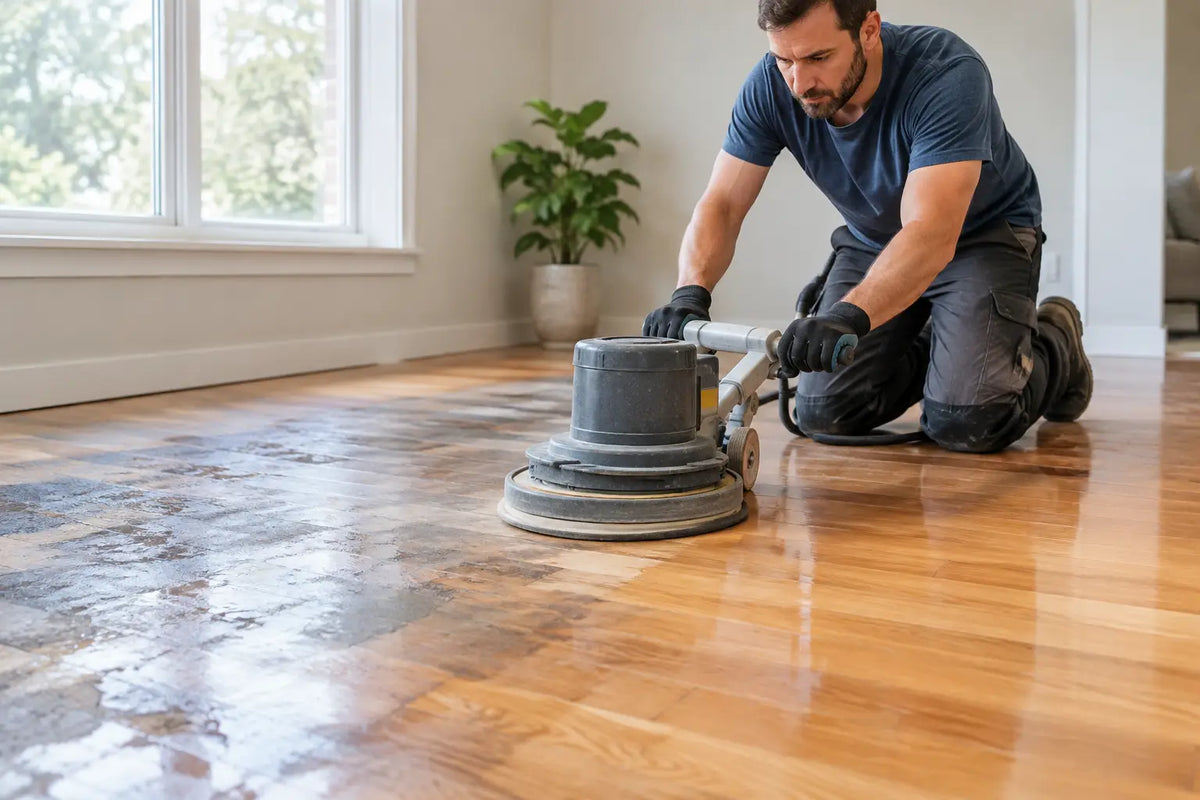
Once readings show the floor has dried and remained stable, a flooring professional can assess whether sanding and refinishing are appropriate. Light cupping, shallow stains, worn finish, and modest surface damage can often be corrected through restoration. The process may include flattening the floor, sanding away damaged finish and discoloration where possible, repairing individual boards, and applying a new protective finish.
The right finish matters. A quality finish helps hardwood resist everyday spills, but no finish makes wood waterproof. Families with pets, busy kitchens, or frequent entryway traffic may benefit from a finish system selected for their specific use rather than choosing solely by sheen.
Solid hardwood and engineered hardwood need different decisions
Solid hardwood is generally the most forgiving option after water damage because it can often be sanded several times over its lifespan. That does not mean every solid floor can be saved. Severe buckling, rot, extensive staining, or subfloor damage may still require partial or full replacement.
Engineered hardwood requires more caution. Its hardwood wear layer sits over a layered core, and its ability to be sanded depends on the thickness of that top layer. Some engineered floors can be refinished once or more; others cannot tolerate meaningful sanding. Water can also compromise the layers or adhesive, leaving boards swollen, delaminated, or loose.
A careful inspection is especially valuable with engineered flooring. Replacing only the damaged section may be possible if matching material is available and the surrounding floor remains stable. However, a patch can look noticeably different if the original floor has faded from sunlight or aged over time. Sometimes a larger refinishing project creates a more consistent result.
When repair is no longer the best value
Restoration is often the right answer, but it should be based on the floor's condition, not on wishful thinking. Replacement becomes more practical when boards remain loose after drying, the subfloor is deteriorated, mold is present in concealed materials, or widespread buckling has changed the floor's structure.
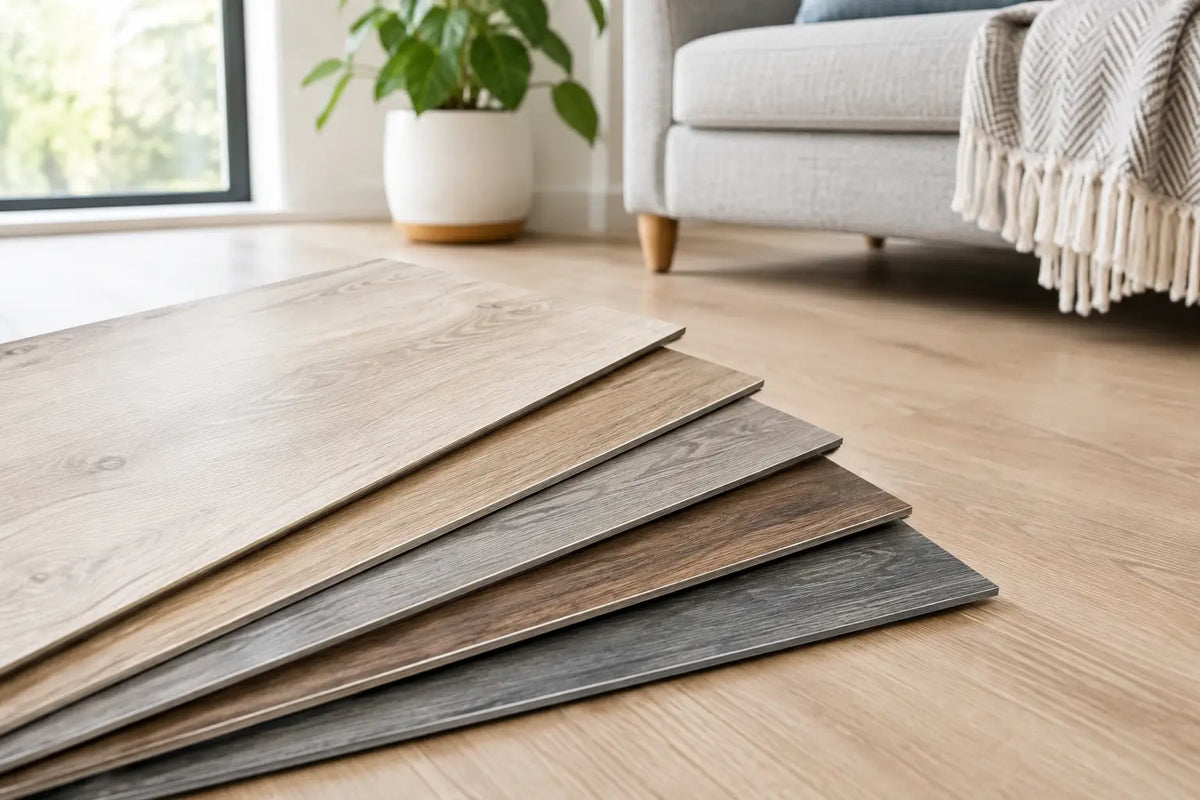
Replacement may also make sense when repairs would leave a visibly uneven patch or when the existing floor has already been sanded close to its limit. In these situations, a flooring professional can help compare the cost of targeted repairs, full refinishing, and replacement with solid hardwood, engineered hardwood, laminate, or luxury vinyl.
For rental properties and commercial spaces, turnaround and durability may weigh heavily in that decision. For a homeowner planning to stay for years, restoring a quality hardwood floor can preserve the character and value that made the home appealing in the first place.
Prevent the next water event from reaching the wood
After the floor is restored, protect it with a few practical habits. Use mats near exterior doors, wipe up spills promptly, and place protective trays beneath pet water bowls. Check appliance hoses, refrigerator lines, and dishwasher connections regularly. Keep indoor humidity reasonably steady through seasonal changes, particularly during humid summers and dry winter heating periods.
Avoid wet mopping hardwood. Use a cleaner designed for the floor's finish and a lightly damp microfiber pad rather than leaving water behind. If an appliance or plumbing fixture leaks again, act the same day. Fast action is often the difference between drying a floor and rebuilding one.
If your hardwood has been exposed to more than a quick spill, an on-site evaluation provides the clarity photos cannot. FC Hardwood Floors can assess the damage, explain the most practical repair path, and help you protect the comfort and value of your home with workmanship you can trust.

Leave a comment
This site is protected by hCaptcha and the hCaptcha Privacy Policy and Terms of Service apply.