
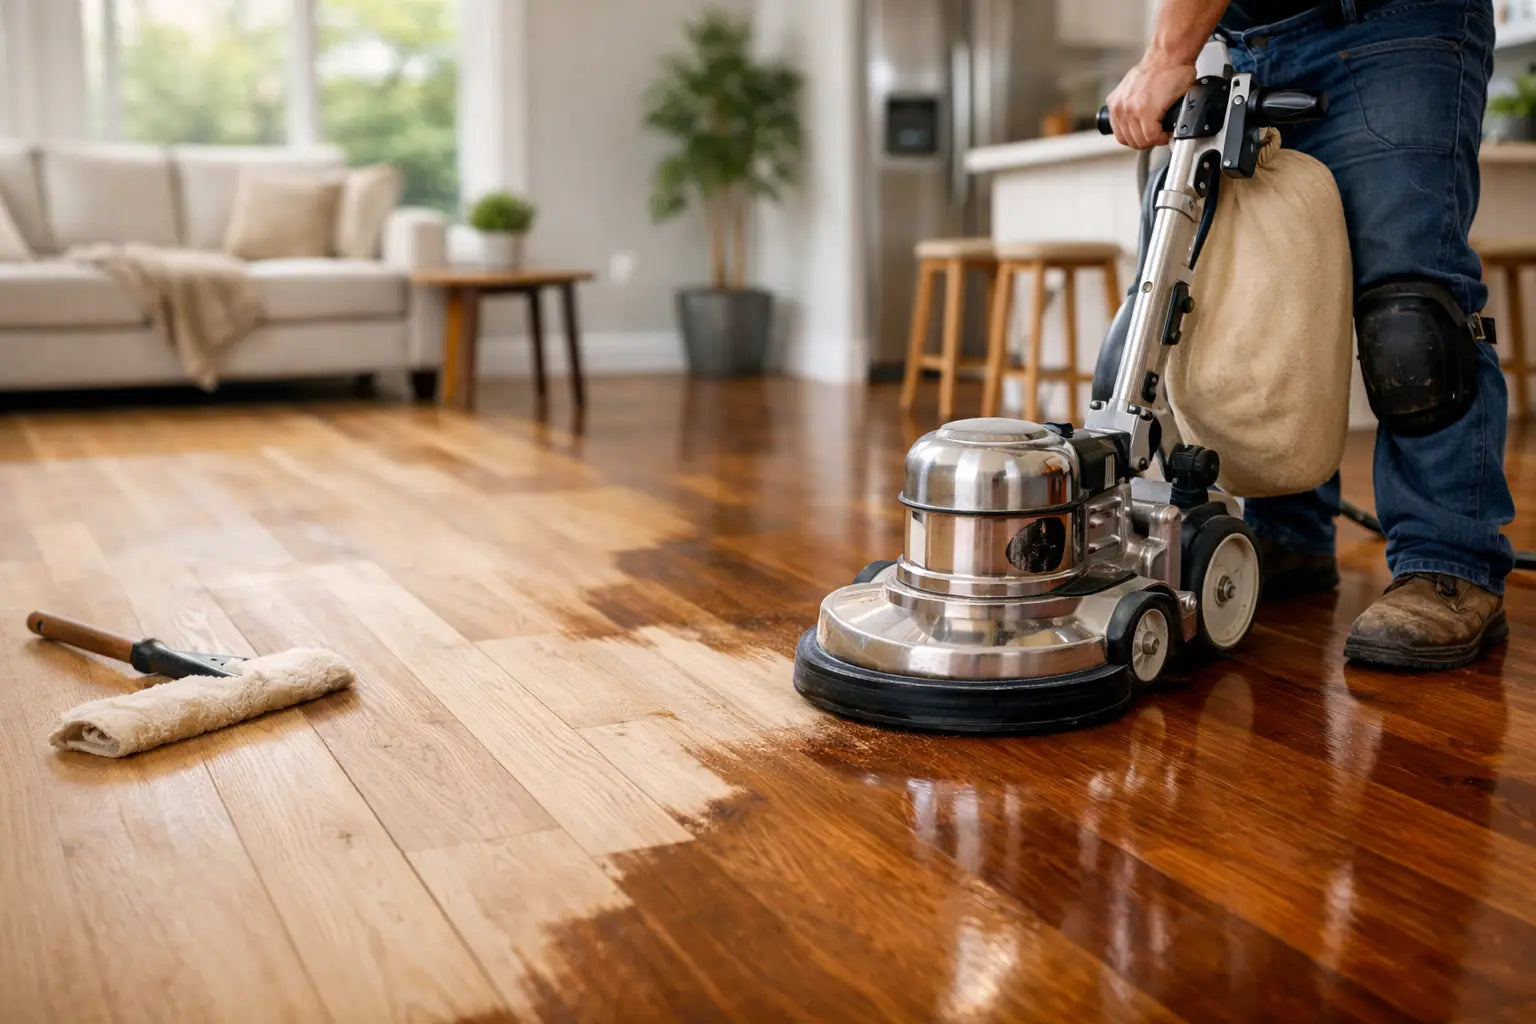
Floor Refinishing: A Smart Upgrade for Your Home
A well-loved hardwood floor tells the story of a home: chair marks beneath the dining table, a worn path from the kitchen to the living room, and scuffs from busy family life. Floor refinishing can bring that character back into balance, restoring the warmth and beauty of real wood without replacing a floor that still has plenty of life left.
For many homeowners, refinishing is one of the most cost-effective ways to make an existing space feel new. It can also be a practical decision before selling, remodeling, or moving into an older home. The key is knowing whether your floors are good candidates and choosing a process that fits how your household actually lives.
What Floor Refinishing Can Fix
Hardwood does not need to look perfect to be worth saving. Surface wear is normal, especially in entryways, hallways, kitchens, and homes with children or pets. Refinishing removes the worn top layer of wood, smooths out many visible imperfections, and gives the floor a new protective finish.
This process is often a strong solution for dull finishes, shallow scratches, minor dents, uneven color from sunlight, water spots that have not penetrated deeply, and old stain colors that no longer fit the room. It also gives homeowners the opportunity to update the look of their floors. A golden oak can become a more natural neutral, a red-toned floor can be softened, or a dark finish can be replaced with something lighter and easier to maintain.
Refinishing is not a cure-all, and an honest assessment matters. Deep pet stains, severe water damage, warped boards, structural movement, and extensive gaps may require board repair or replacement before the sanding process begins. In some cases, especially with thin engineered wood or heavily refinished historic flooring, a full sand and refinish may not be the right option at all.
That is why an in-home evaluation is valuable. A flooring professional can identify the species of wood, the condition of the boards, previous repair work, and how much usable wood remains above the tongue-and-groove joint.
Signs Your Hardwood Floors Are Ready for Refinishing
A few light scratches do not automatically mean your floors need a full restoration. If the finish is still intact, a professional deep clean and maintenance coat may be enough. But when the protective layer has worn through, the wood underneath becomes more vulnerable to moisture, staining, and long-term damage.
Look closely at high-traffic areas. If the floor appears gray, feels rough, has bare-looking patches, or absorbs a small drop of water instead of allowing it to bead up, it may be time to discuss refinishing. Widespread scratching, noticeable discoloration, and finish peeling are also common signals.
Homeowners often wait until the floor looks severely damaged, but earlier action can help preserve more of the original material. Refinishing before spills and foot traffic reach bare wood is typically easier than addressing staining and board damage later.
Sanding and Refinishing vs. a Maintenance Coat
These services have different purposes. A maintenance coat, sometimes called a screen and recoat, lightly abrades the existing finish and applies a fresh protective topcoat. It does not remove deep scratches, flatten dents, or change the stain color. It is best for floors with light wear and an intact finish.
A complete floor refinishing project involves sanding down to fresh wood, repairing minor defects as needed, applying stain if desired, and sealing the floor with new finish coats. This is the better route for significant wear, old finish failure, or a major color change.
The difference matters because sanding removes a small amount of wood. Solid hardwood can generally be refinished multiple times over its lifetime, but it should never be done unnecessarily. A professional recommendation should be based on the floor's condition, not a one-size-fits-all sales pitch.
The Floor Refinishing Process, Step by Step
A professional refinishing project starts well before the first sanding pass. Clear communication helps protect the home, set expectations, and keep the project moving efficiently.
First, the space is prepared. Furniture, rugs, and breakable items need to be removed, and access to the work area should be planned in advance. Depending on the scope of the project, homeowners may need to make arrangements for pets and consider how they will move through the home while the floors are unavailable.
Next comes sanding. Professional equipment levels the floor and removes the old finish, surface scratches, and previous stain. Edges and corners are handled carefully so the finished floor has a consistent appearance throughout the room. Modern dust-containment equipment can greatly reduce airborne dust, but any sanding project still benefits from thoughtful preparation.
After sanding, the floor is inspected for details that can affect the final appearance. Small gaps, nail holes, and minor damaged areas may be repaired. Then the wood is ready for stain or a natural finish. Samples are especially helpful at this stage because stain color can look very different depending on the wood species, existing lighting, wall colors, and surrounding cabinetry.
Finally, protective finish coats are applied. The right product depends on the desired sheen, maintenance preferences, traffic level, and project timeline. Water-based finishes usually dry faster and have lower odor, while oil-based finishes can offer a traditional amber warmth and longer working time. Neither choice is universally better. A busy household may prioritize faster cure times, while a homeowner restoring a classic interior may prefer the depth of an oil-based look.
Choosing a Color and Finish That Will Last
A floor color should work with your home, not simply follow a trend. Very dark floors can look dramatic, but they often show dust, pet hair, and light scratches more readily. Very light floors can make a room feel open and modern, though some pale finishes may highlight marks from shoes or furniture depending on the sheen.
Natural and mid-tone stains remain popular because they are flexible. They work with changing paint colors, furniture styles, and future updates. They also tend to hide everyday dust and minor wear better than extreme colors.
Sheen matters just as much as stain. Glossy floors reflect more light but can show scratches and footprints. Satin is a reliable choice for many Kansas City households because it offers a clean, refined look without emphasizing every sign of daily use. Matte finishes have become increasingly popular for their relaxed, low-glare appearance, particularly in homes with pets, children, or lots of natural light.
Before making a final choice, view samples in the actual room at different times of day. A color that looks rich in a showroom or on a phone screen can shift considerably under your home's lighting.
How to Prepare Your Home and Protect the Results
The best refinishing results come from good preparation and a little patience after the work is complete. Make a plan for furniture and access routes before the project starts. If refinishing multiple connected rooms, consider whether you will need to stay elsewhere for part of the process, particularly if anyone in the household is sensitive to odors or dust.
Once the finish has been applied, follow the recommended drying and curing schedule. Floors may be ready for careful foot traffic before they are ready for rugs, furniture, or heavy use. Pushing that timeline can leave marks in a finish that has not fully hardened.
Afterward, simple habits go a long way. Use felt pads beneath furniture legs, place quality mats at exterior doors, and clean spills promptly. Sweep or vacuum with a hardwood-safe setting often enough to remove grit, since tracked-in dirt acts like sandpaper underfoot. Avoid steam mops and harsh cleaners, which can damage the finish or force moisture into the wood.
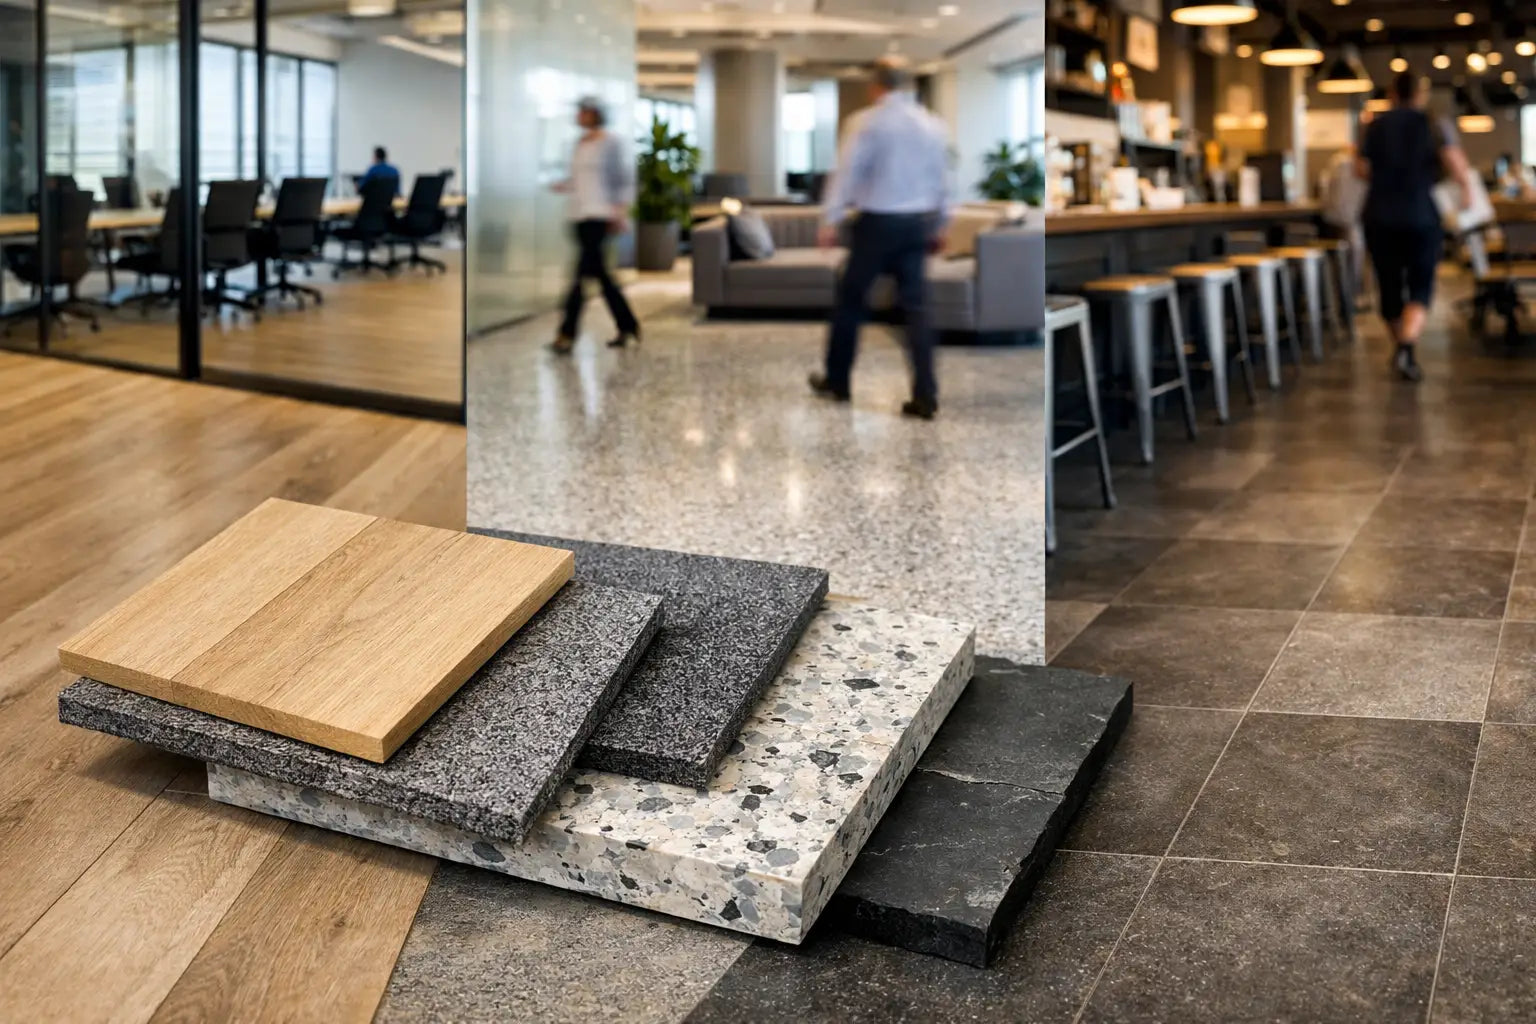
For commercial spaces, protection plans should account for rolling chairs, entry traffic, cleaning routines, and moving equipment. A beautiful floor needs a practical maintenance strategy when it supports daily business operations.
When Refinishing Is the Better Investment
Replacing hardwood may be necessary when damage is extensive, but refinishing is often the more affordable path when the boards are structurally sound. It retains the material already in the home, preserves the character of genuine hardwood, and can deliver a dramatic visual change without the cost and disruption of a full replacement.
It is also an opportunity to make the floor fit the way you live now. A dated stain can be updated. A worn surface can be protected. And a room that has started to feel tired can regain the warmth that made hardwood worth choosing in the first place.
For homeowners in Olathe, Overland Park, Lenexa, Leawood, Shawnee, and Kansas City, the right next step is not guessing from a photo. Ask for a professional evaluation, review samples in your own light, and choose a refinishing plan that respects both your budget and the life happening on your floors.

Leave a comment
This site is protected by hCaptcha and the hCaptcha Privacy Policy and Terms of Service apply.